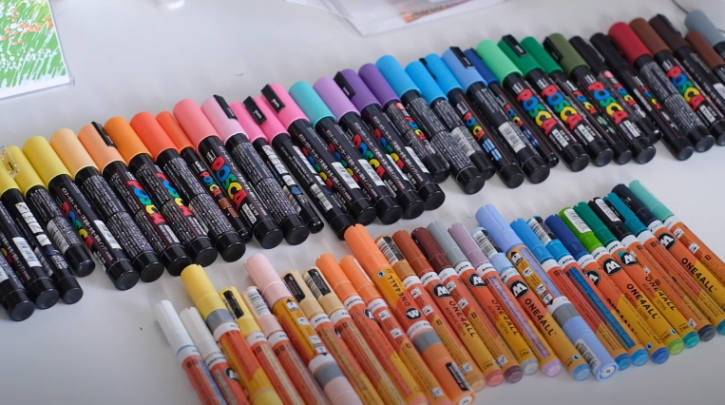
Acrylic paint markers are incredibly handy. In this tutorial, we will show you how closely they resemble the actual acrylic paint sets when attempting to do a technique called gradient.
This is when two colors meet and blend seamlessly together. Stick around for the end when we’ll review a completely different set of acrylic paint markers as we go through our experimental stage using different brands.
Thanks to Angela for her help putting together this tutorial. She is an acrylic artist that makes beautiful paintings available for purchase in her store. Make sure to stop by her shop and support her if this tutorial helped!
How to Gradient with Acrylic Paint Markers
Gradient is an Acrylic technique in which you gradually blend one color into another on your painting. Today, we will review how to use this acrylic paint technique when using the newly popular acrylic paint markers. If you would like our favorite Acrylic paint markers, check the bottom of this tutorial out where we will review the trendy Montana paint markers.
What acrylic supplies you need:
- Medium point acrylic paint marker set
- 14pt glossy cardstock paper (any paper will do)

Step 1: Start with the Lightest Color
In this tutorial, the lightest color Angela is using is a highlighter yellow. This is just an experiment and practicing your gradient technique. You can do anything you want – in any pattern you’d like. For us, we’ll make it simple by making a ‘tornado gradient’. Follow along to see what we mean.

Step 2: Lay Down the Next Color
While the color from step 1 is still wet, lay down the second color which should be of a slightly darker color than the first. While doing this, use very light strokes.
The goal is not to brush over the entire lighter color, but to make it a gradual transition to the darker color. While the two colors blend, it will create a lighter version of the color you’re using as the second color in the ‘tornado’.

Step 3: Go over Darker Tone with Lighter Tone
Before the darker tone is dry, re-apply the lighter color partly over the darker color. This is what we call the transition area and the key is to always keep in mind very light strokes in the transition area. This will help blend the two colors even better.

Step 4: Repeat the Process
Once you complete that, feel free to repeat the process and try to add more blended colors to the same link. This is simple to do but will take practice to perfect.
Now, you might want to try a color that doesn’t traditionally blend with the other two. It’s your time to experiment, remember!

Continue this pattern with multiple colors – each time, make sure your tone is getting darker and darker until you’re ready to move on.
You can also do a white to dark color blend using the same technique from above. First, lay down your white.

Start with white and follow it with a wide array of colors. Notice how the white effects every color and presents it lighter. Remember this along your artistic journey as it is a perfect tool for blending.
Montana Acrylic Markers Review

Today, we will be reviewing one of our favorite affordable acrylic paint markers; that’s the Montana Acrylic Marker 6 Set 2mm. https://www.amazon.com/Montana-Acrylic-Paint-Marker-Multi/dp/B0079IYEU8/ref=cm_cr_arp_d_product_top?ie=UTF8
What we liked:
- The tips are replaceable
- You can buy empty markers and fill them with your desired custom mixes (these are refillable)
- Montana sells its own paint that is very good for custom markers
What we didn’t like:
- The normal acrylic pens are not refillable (we have a set from Blick which are!)
What else?
Admittedly, we haven’t spent a lot of time with acrylic paint markers. This is something we’ve been diving into pretty heavily as of late and, as such, we’ve been experimenting with several markers.
It’s always convenient to use markers that give off similar effects as the actual paints. So, with that in mind, know that we put heavy preference on the convenience of each marker in our score.

It was nice that the ball bearing in the marker’s tip consistently mixed the paint well and moved across the canvas smoothly. And the paint lasts on the tip for a surprisingly long time, too, before needing to press the tip into the marker to reload it.
As an experiment, we tried to gradient two colors before the first had dried. It created a pretty cool effect we haven’t seen before. It’s normal to be able to add gradient and shade, but this effect was also useful and unique.
Overal Grade: 7.6/10
As with all of the best acrylic paint pens, we love their ease of use. The quicker we can get our ideas onto the paper, the better for our creativity.
We found them useful for touch-ups or making tiny corrections but wouldn’t use them as our marker of choice. Though, for beginners, they work fine!
Clean up is as simple as placing the cap over the tip. You can’t top that!


